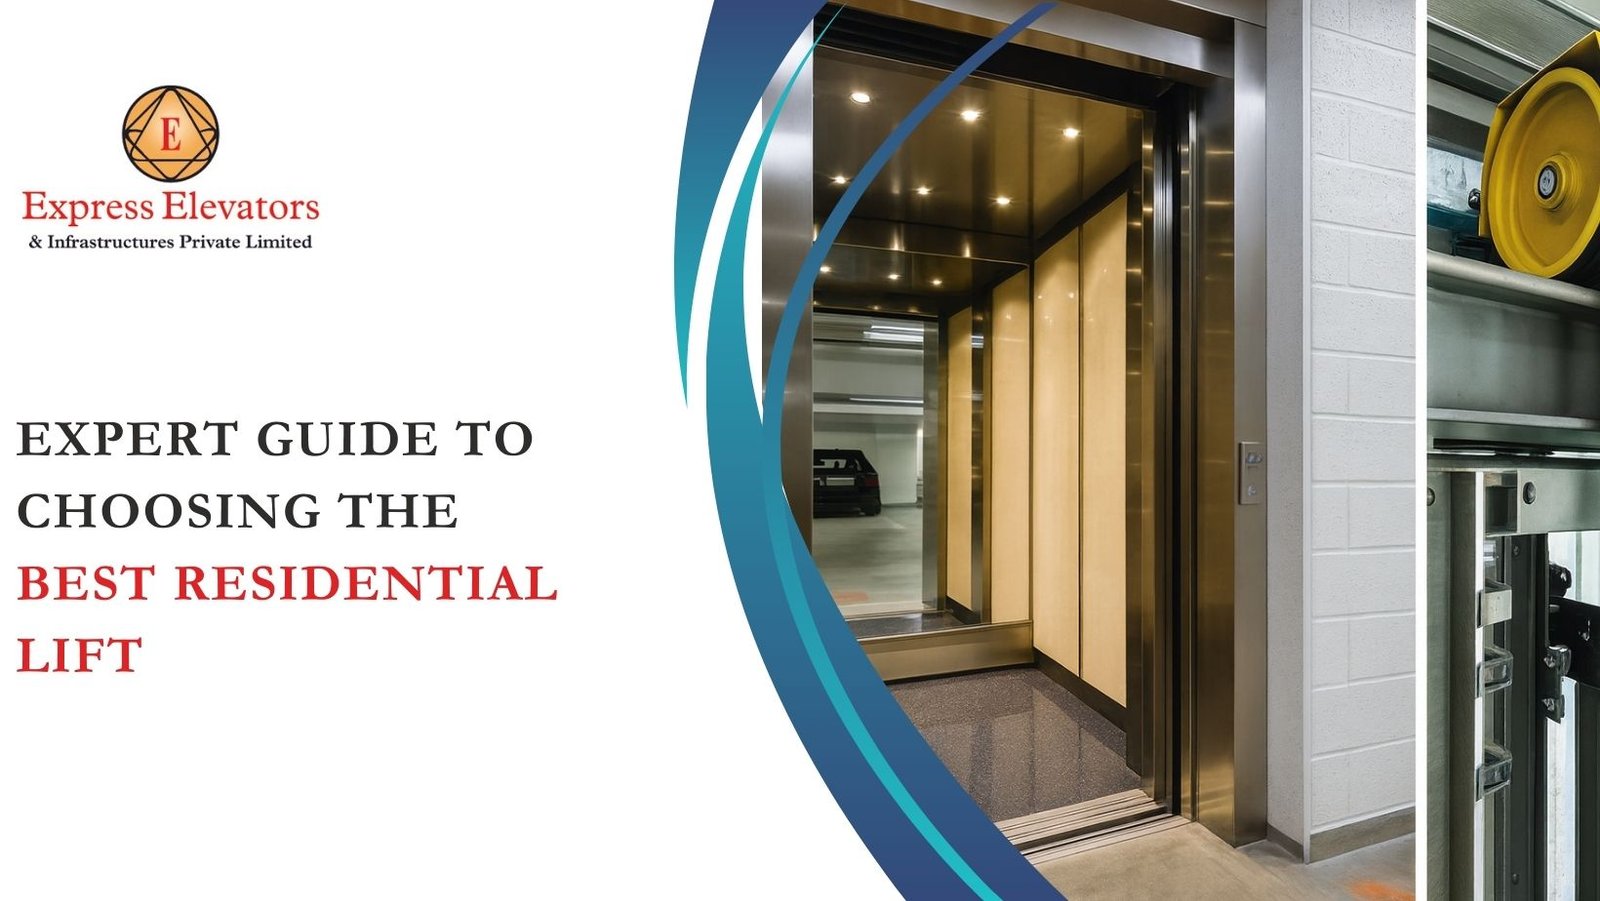
Expert Guide to Choosing the Best Residential Lift
Introduction
So many homeowners treat buying a residential elevator like purchasing an appliance.
Predictably, around 40% of them report post-installation regret linked to poor space planning or supplier selection, not the lift technology itself.
No, it’s not that simple. But thankfully, it’s not that hard either. With the right knowledge, you can avoid most of the hassle before it happens and choose better for yourself.
This guide walks through the six steps that experienced buyers take before committing. You’ll learn how to assess your home’s requirements, match lift types to real constraints, evaluate technical specifications that affect daily performance, and pressure-test suppliers before signing anything. Read the entire thing.
Step 1: Assess Your Home and Needs
Know Your Numbers First
Before contacting any supplier, collect these specifics:
- Floors served: Total stops including basement and terrace
- Available footprint: Measure shaft space in centimetres, not rough estimates
- Load requirements: Daily users, maximum weight including mobility aids
- Usage intensity: A family of two uses a lift differently than a multigenerational household of eight
Retrofit installations in existing homes cost 30-50% more than new construction because structural modifications weren’t planned in advance. Knowing your constraints early prevents this.
Accessibility Needs
If any household member uses a wheelchair or walker, cabin dimensions become non-negotiable minimums—not preferences. Wheelchair-accessible cabins need 1,100 mm width and 1,400 mm depth at absolute minimum. Door openings must clear 900 mm.
Step 2: Understand Lift Types
Each drive technology suits a different home configuration:
- Hydraulic lifts: Best for 2-4 floors with heavy load needs (up to 750 kg). Require machine rooms and deep pits (1.2-1.5 m). Cheaper upfront, higher maintenance over time
- Traction/MRL lifts: Suited for 3-6 floors. Machine-Room-Less designs save 2-3 m² of space. Quieter and more energy-efficient than hydraulic systems
- Vacuum/pneumatic lifts: Ideal for tight retrofits—no pit, no shaft construction, installs in 2-3 days. Capacity limited to 250-300 kg (2-3 passengers)
- Screw-drive lifts: Compact and smooth; work well in existing homes where structural work is limited
A surprising pattern: homeowners consistently overspecify lift capacity. Most residential households never exceed 300 kg per trip, yet buyers routinely purchase 450-600 kg systems—paying for structural work and energy consumption they don’t need.
Step 3: Evaluate Technical Specifications
Performance Factors That Matter Daily
- Speed: 0.15-0.50 m/s suits residential use. Higher speeds add cost without meaningful benefit for 2-4 floor homes
- Noise: Hydraulic pumps run at 60-70 dB. Traction systems operate at 45-55 dB—the difference is noticeable in bedrooms near the shaft
- Ride quality: Variable frequency drives (VVVF) eliminate jerky starts. Acceleration should stay below 1.0 m/s² for comfortable operation
Single-phase power (220V) handles all residential lift types—no industrial connections needed. Verify this upfront so your electrician plans correctly.
Step 4: Check Safety and Compliance
Non-negotiable safety systems for any residential lift:
- Automatic Rescue Device (ARD) for controlled lowering during power cuts
- Dual independent brake systems with overspeed governors
- Three-layer door protection: interlocks, infrared sensors, pressure-sensitive edges
- Overload sensors with audio-visual alerts
IS 14665 governs residential lifts in India. Suppliers must provide compliance documentation—not just verbal assurances. Ask for the certificate number and verify it independently. Systems without IS 14665 certification create insurance complications and occupancy certification delays.
Step 5: Consider Total Ownership Cost
The unit price tells you nothing useful on its own. Calculate across five years:
- Installation: Civil work, electrical, finishing—add ₹3-8 lakh to any unit price
- Energy: Hydraulic systems use 3,500-4,000 kWh/year vs 2,200-2,800 kWh for MRL traction
- Maintenance: Annual contracts range ₹8,000-50,000 depending on system complexity
- Warranty: Verify scope—equipment only, or does it cover labour and consumables?
MRL traction lifts cost 20-30% more upfront than hydraulic equivalents but recover the difference within 4-6 years through lower energy and maintenance expenses.
Step 6: Evaluate Suppliers
What to Verify Before Signing
Ask every supplier these specific questions:
- Where is your nearest service centre to my location?
- What is your guaranteed emergency response time?
- Do you stock common spare parts locally or import them?
- Can I visit a completed installation similar to my project?
- What does your AMC cover—and what does it exclude?
Suppliers without local service infrastructure sound confident during sales calls. Their response times tell a different story after installation. Service teams stationed in the same city respond in hours. Teams operating from distant offices take days.
Red Flags in Supplier Behaviour
Walk away from suppliers who:
- Quote without conducting a site visit
- Provide single-number prices without itemised breakdowns
- Treat safety features like ARD and door interlocks as optional upgrades
- Cannot provide references from completed residential installations
Common Questions
Which lift type works best for a 3-floor bungalow retrofit?
MRL traction lifts suit most 3-floor retrofits. They need minimal pits (150-300 mm), no machine room, and fit into 1.0 × 1.0 metre shaft spaces in compact configurations. Vacuum systems work if structural modifications aren’t feasible at all—but capacity stays limited.
How long does residential lift installation take?
Hydraulic and traction systems take 4-8 weeks including civil work. MRL systems install in 2-4 weeks. Vacuum/pneumatic lifts complete in 2-3 days. New construction installations always run faster than retrofits because structural provisions are built in from the start.
What maintenance should I budget for annually?
Hydraulic systems: ₹30,000-50,000 including oil changes and seal replacements. Traction/MRL systems: ₹15,000-30,000 for cable inspections, brake adjustments, and door servicing. Both types need annual comprehensive professional servicing regardless of daily usage volume.
Conclusion
Choosing a residential lift comes down to matching technology to real constraints—not picking the most attractive cabin or the lowest quoted price. Assess space and load requirements first, match lift type to those constraints, verify safety certifications independently, and evaluate suppliers on service infrastructure rather than sales presentations.
Download our residential lift checklist or contact our team directly to run through these six steps for your specific home.
Express Elevators takes a structured approach to every residential installation—starting with a detailed site survey that measures actual shaft space, assesses structural requirements, and maps accessibility needs before recommending any system. We carry the full range: hydraulic, MRL traction, vacuum, and glass panoramic lifts, so our recommendations reflect your requirements rather than our inventory preferences.
Every installation comes with IS 14665 compliance documentation, comprehensive safety systems as standard equipment, and AMC plans that specify response times and coverage scope in writing. We maintain service teams and spare parts inventory across our operating regions—not just sales offices.
Contact Express Elevators at expresselevators.co to schedule a no-obligation site assessment. Our engineers will evaluate your home, walk you through suitable options with complete cost breakdowns, and help you make a decision based on total ownership value—not just the upfront number.